
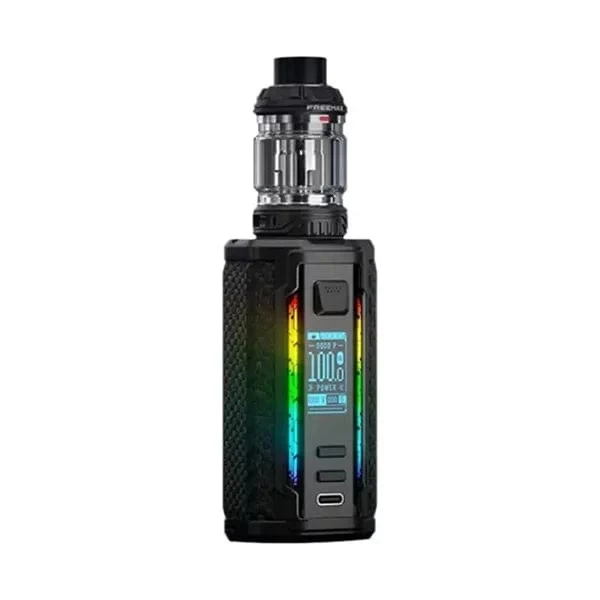
FreeMax Maxus 3 200W Kit Setup and Ownership Guide
$65.99
A practical guide to installing the required batteries, filling and priming the M Pro 3 Tank, selecting a coil range, charging and maintaining the Maxus 3 hardware.
Practical Product Overview
The FreeMax Maxus 3 200W Kit combines a removable-battery regulated mod with a refillable M Pro 3 Tank. It is intended for adults who understand external-battery care, replaceable coils and adjustable high-power hardware rather than a sealed or automatic pod.
Two external 18650 batteries are required and are not supplied. The standard/U.S. M Pro 3 Tank holds 5mL, while the TPD edition is limited to 2mL. E-liquid is not included in either configuration.
The kit includes two different mesh coils. The M1-D 0.15Ω coil is installed in the tank, and the 904L M2 0.2Ω coil is supplied as a spare. Each coil has its own marked power range and must be saturated before use.
First-Time Setup
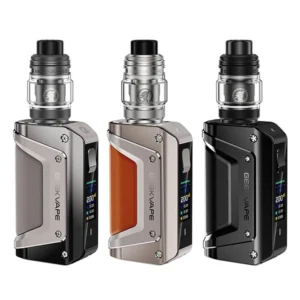
1. Confirm that the package is the 5mL standard/U.S. configuration and that the selected color matches the SKU and product image.
2. Inspect the mod, tank, glass, O-rings, battery door and USB Type-C port. Do not use parts that are cracked, leaking, deformed or unusually hot.
3. Install two matching, undamaged high-drain 18650 batteries according to the polarity markings. The batteries are sold separately.
4. Check that the M1-D 0.15Ω coil is firmly installed in the M Pro 3 Tank.
5. Apply a small amount of e-liquid to the visible cotton openings of the new coil.
6. Lift and slide the top cap, fill through the designated fill port and close the cap completely. Do not pour e-liquid into the central airflow tube.
7. Allow the filled tank to stand so the wick can saturate. Start below the upper limit of the coil’s marked range and increase gradually if needed.
8. Use the firing button to operate the device and the adjustment controls to select the desired supported mode and power level.
Charging, Storage and Maintenance
• The Maxus 3 has a USB Type-C port with a 5V/2A specification; the official kit includes one cable.
• Charge on a dry, heat-resistant surface and monitor the device. Stop charging if the mod, cable or cells become damaged or abnormally hot.
• Keep the tank upright when possible, especially during storage or transport.
• Wipe condensation and e-liquid from the 510 connection, airflow area and exterior with the device powered off.
• Replace the coil when performance remains degraded after refilling, or when a persistent burnt taste indicates the wick is no longer usable.
• For extended storage, empty and clean the tank, remove the batteries and store the cells in a nonconductive case.
• Do not carry loose 18650 batteries with keys, coins or other metal objects.
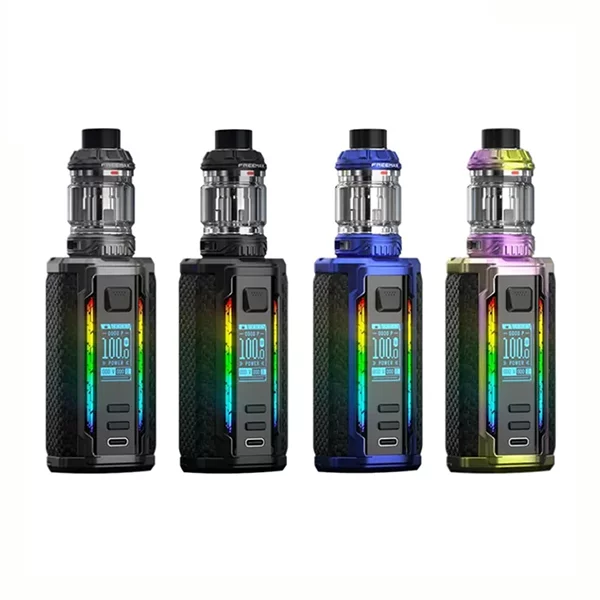
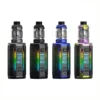
Available Color Options
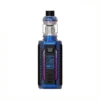
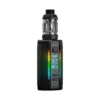
• Black: Dark neutral finish for the Maxus 3 mod and M Pro 3 tank set.
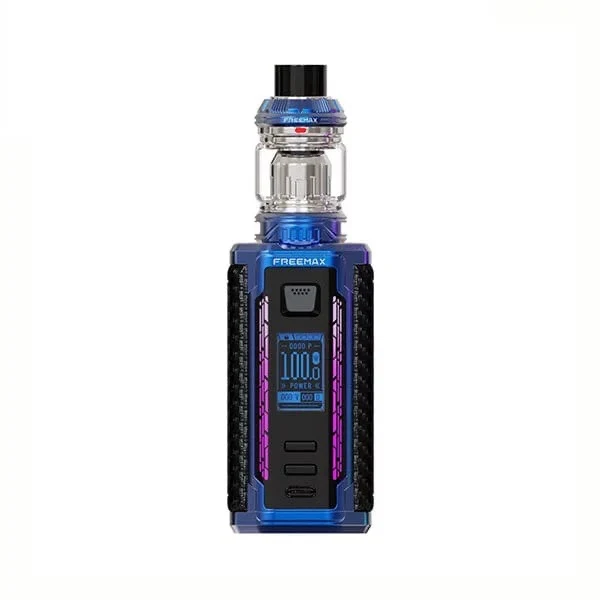
• Blue: Blue-finish hardware within the same Maxus 3 platform.
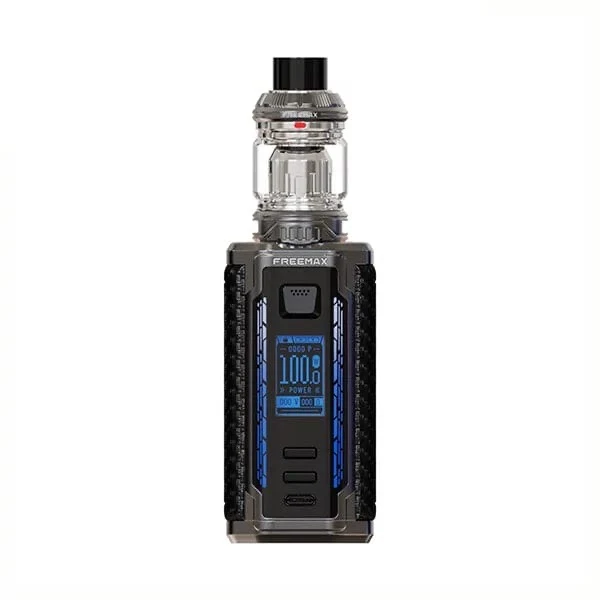
• Gunmetal: Metallic gray finish with the standard shared specifications.
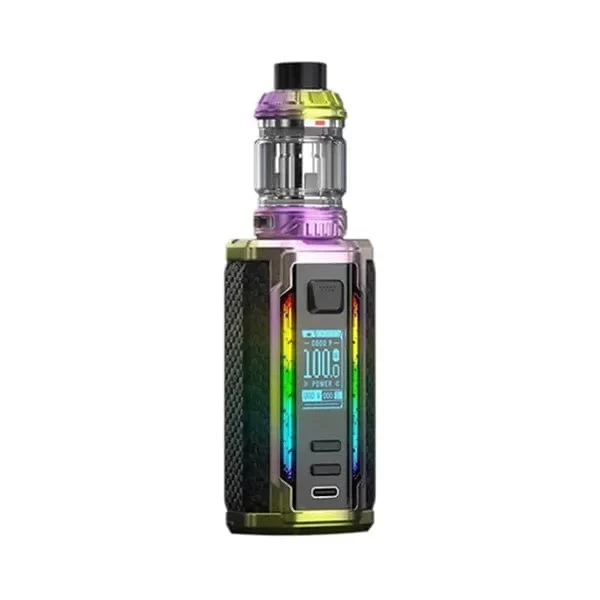
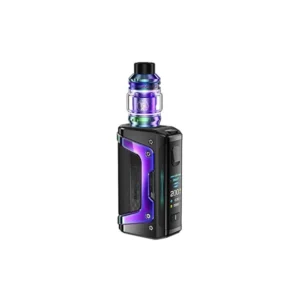
• Rainbow: Multicolor finish; exact color distribution can vary with lighting and product photography.
Color availability can change by production batch and supplier inventory. Match the selected image, printed color name and physical SKU before fulfillment.
| Brand | FreeMax |
|---|---|
| Model | Maxus 3 200W Kit |
| Device Type | Refillable Sub-Ohm Starter Kit |
| User Controls | Firing Button and Adjustment Buttons |
| Battery Requirement | 2 × External 18650 (Not Included) |
| Charging Port | USB Type-C |
| Charging Specification | 5V/2A |
| Power Range | 5-200W |
| Display | 1.06-Inch TFT |
| Tank | M Pro 3 |
| Capacity | 5mL Standard/U.S.; 2mL TPD |
| Fill Method | Lift and Slide Top Cap |
| Airflow | Adjustable Bottom Airflow |
| Pre-Installed Coil | M1-D 0.15Ω, 50-80W |
| Spare Coil | 904L M2 0.2Ω, 60-90W |
| Refillable | Yes |
| Replaceable Coil | Yes |
| E-Liquid Included | Yes |
| Batteries Included | No |
| Cable Included | Yes, 1 × USB Type-C Cable |
| Minimum Age | 21+ |
Reviews
There are no reviews yet.